You can click any photo to enlarge and then scroll the gallery for that page. When you are finished click on the X in the upper right corner to close the gallery.
 |
| Cat-tails Through The Looking Glass |
 |
| Cat-tails Through The Looking Glass |
 |
| Close Up of Cat-tails |
 |
| Close Up of Cat-tails |
 |
| Cat-tails Through The Looking Glass |
 |
| Close Up of Cat-tails |
 |
| Close Up of Cat-tails |
 |
| Close Up of Cat-tails |
For Christmas this year I'm working on a couple little surprises for two special ladies. Following are some of the steps in photo form starting with a basic tree design I found on-line. I dropped the bottom branches for an added whimsical surprise. Photos will be updated as progress warrants until you see the finished project.


With the corners cut at a 45 and the background panel dry fitted in place, I had to make a dado for the next portion. Following is a close up of the off centered dado. My apologies for the bad lighting.

Next step to add the key part. A jewelry tree cut from 1/4" birch.
At this point all pieces are only dry fitted, as I still have to sand and paint the parts.

The base of the tree is setting into the off centered dado mentioned above and does not get glued in place. Stay tuned for more updates.
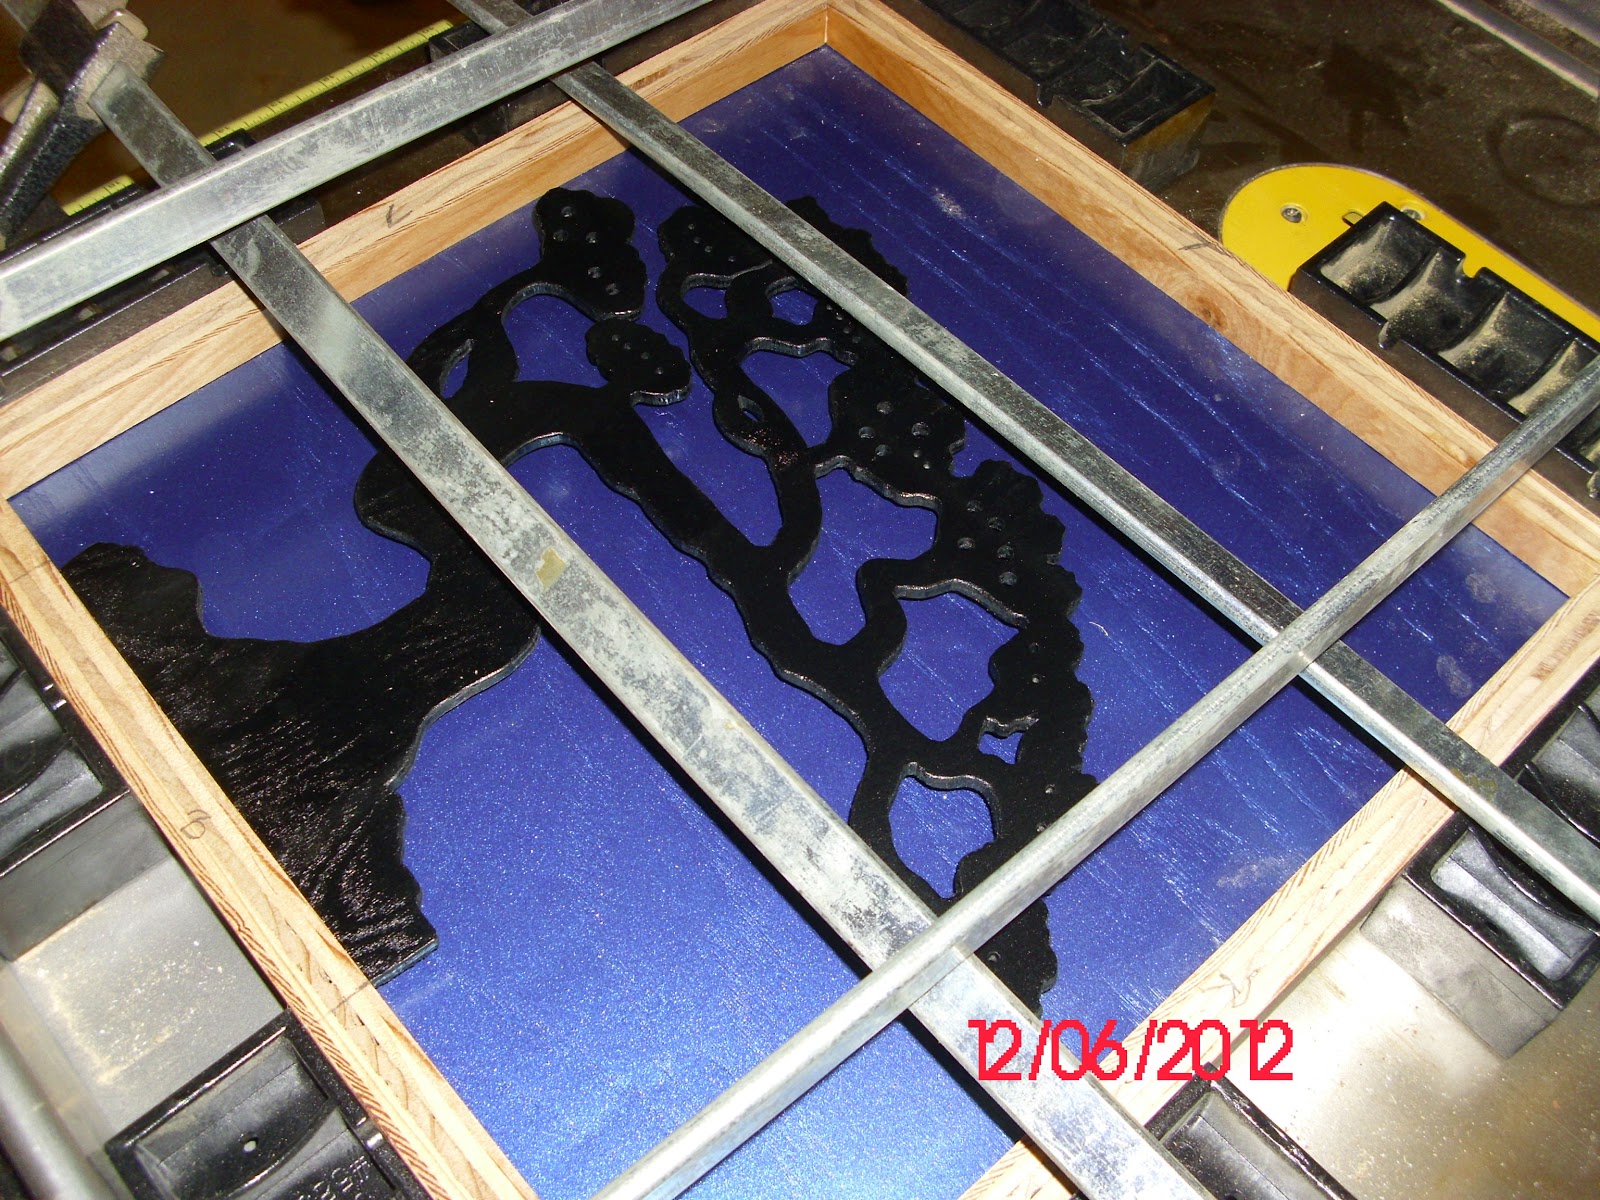
With parts painted and the sides of the frame protected with satin finish poly acrylic the unit is glued at the corners. The tree sets proud of the back panel by about 3/8".

The above photo was to show the space between the back panel and the jewelry tree, but it didn't come out as good as I had hoped. Once the piece comes out of the clamps I'll do a touch up sanding on the upper edge where I will probably add a molding for a finished look.

Ready for a little sanding before the molding goes on

From a different angle.
Next step, to add something whimsical. Stay tuned for more photos.

Above, added a pair of Christmas elf mice earrings
One more piece du resistance to come (that's french dontacha know?)

Final touch added!
And a second one done which is a mirror image of the first

Very nice. :)
ReplyDelete